Light Pollution

I originally posted this blog entry on another, now defunct, blog so I thought I’d repost it here

Where we live is in a strange place when it comes to dark skies – the north and east of the village suffer from a lot of light pollution from places like Crook, Consett, Durham and even Newcastle but the south and the west are relatively dark – and so they should be given that they look inland towards the more sparsely inhabited areas in the North Pennines. The upshot of this is if you venture away from the street lights in the village you get some wonderful views of the stars in the night sky.

In fact if I’m honest you don’t have to go that far, the Dark Sky Discovery site classifies two types of site to view the night sky – firstly there’s a Milky Way site where the Milky Way is visible to the naked eye and then there is a Orion Site where the seven main stars in the winter constellation Orion are visible to the naked eye which puts my back garden into the latter category. Then there is the Thornley Road (before that idiot put those super bright spot lights outside his unit), at the bottom of Ironworks Road and behind the cemetery where the Milky Way can be seen on a really dark night and both of those are within walking distance. We’ve also got Derwent Reservoir and Parkhead Station within a twenty minute drive that are both recognised by the North Pennines AONB as being dark sky discovery sites.

Of course over 100 years ago, when the skies would have been much darker, there was an observatory in the village. A local clergyman built one in the garden of the rectory. The Rev Espin, who also dabbled with medical use of x-rays, was a well renowned astronomer and even has a crater on the dark side of the moon named after him!

So the other night when I discovered that the sky was really clear I set out to discover for myself if the skies were dark enough for astrophotography. I would have driven to a dark sky discovery spot but by the time I discovered the sky was so clear I’d had a couple of glasses of wine so it wasn’t a good idea! I has also seen on Facebook that the moon was due to set at around ten to one so I figured I’d go out just before that and see what it was like.

I decided that I would head up to behind the cemetery so I got my camera out and refreshed my memory by looking at the cheat sheet I’d got from Kielder observatory earlier in the year and set my camera up ready to save me fiddling around in the dark. I took my tripod and headed off through the quiet streets to the edge of the village and then turned down a lane that runs down to the old railway track. As I did the moon was hanging low in the sky and I decided to see if I could get a picture of it. I started to set up but that was then I discovered that in future I need to remember that as well as setting my camera up before leaving I should also familiarise myself with the tripod, at least until I get used to it as this is only the third time I’ve actually used it and remembering the ins and outs in the dark wasn’t a great idea.

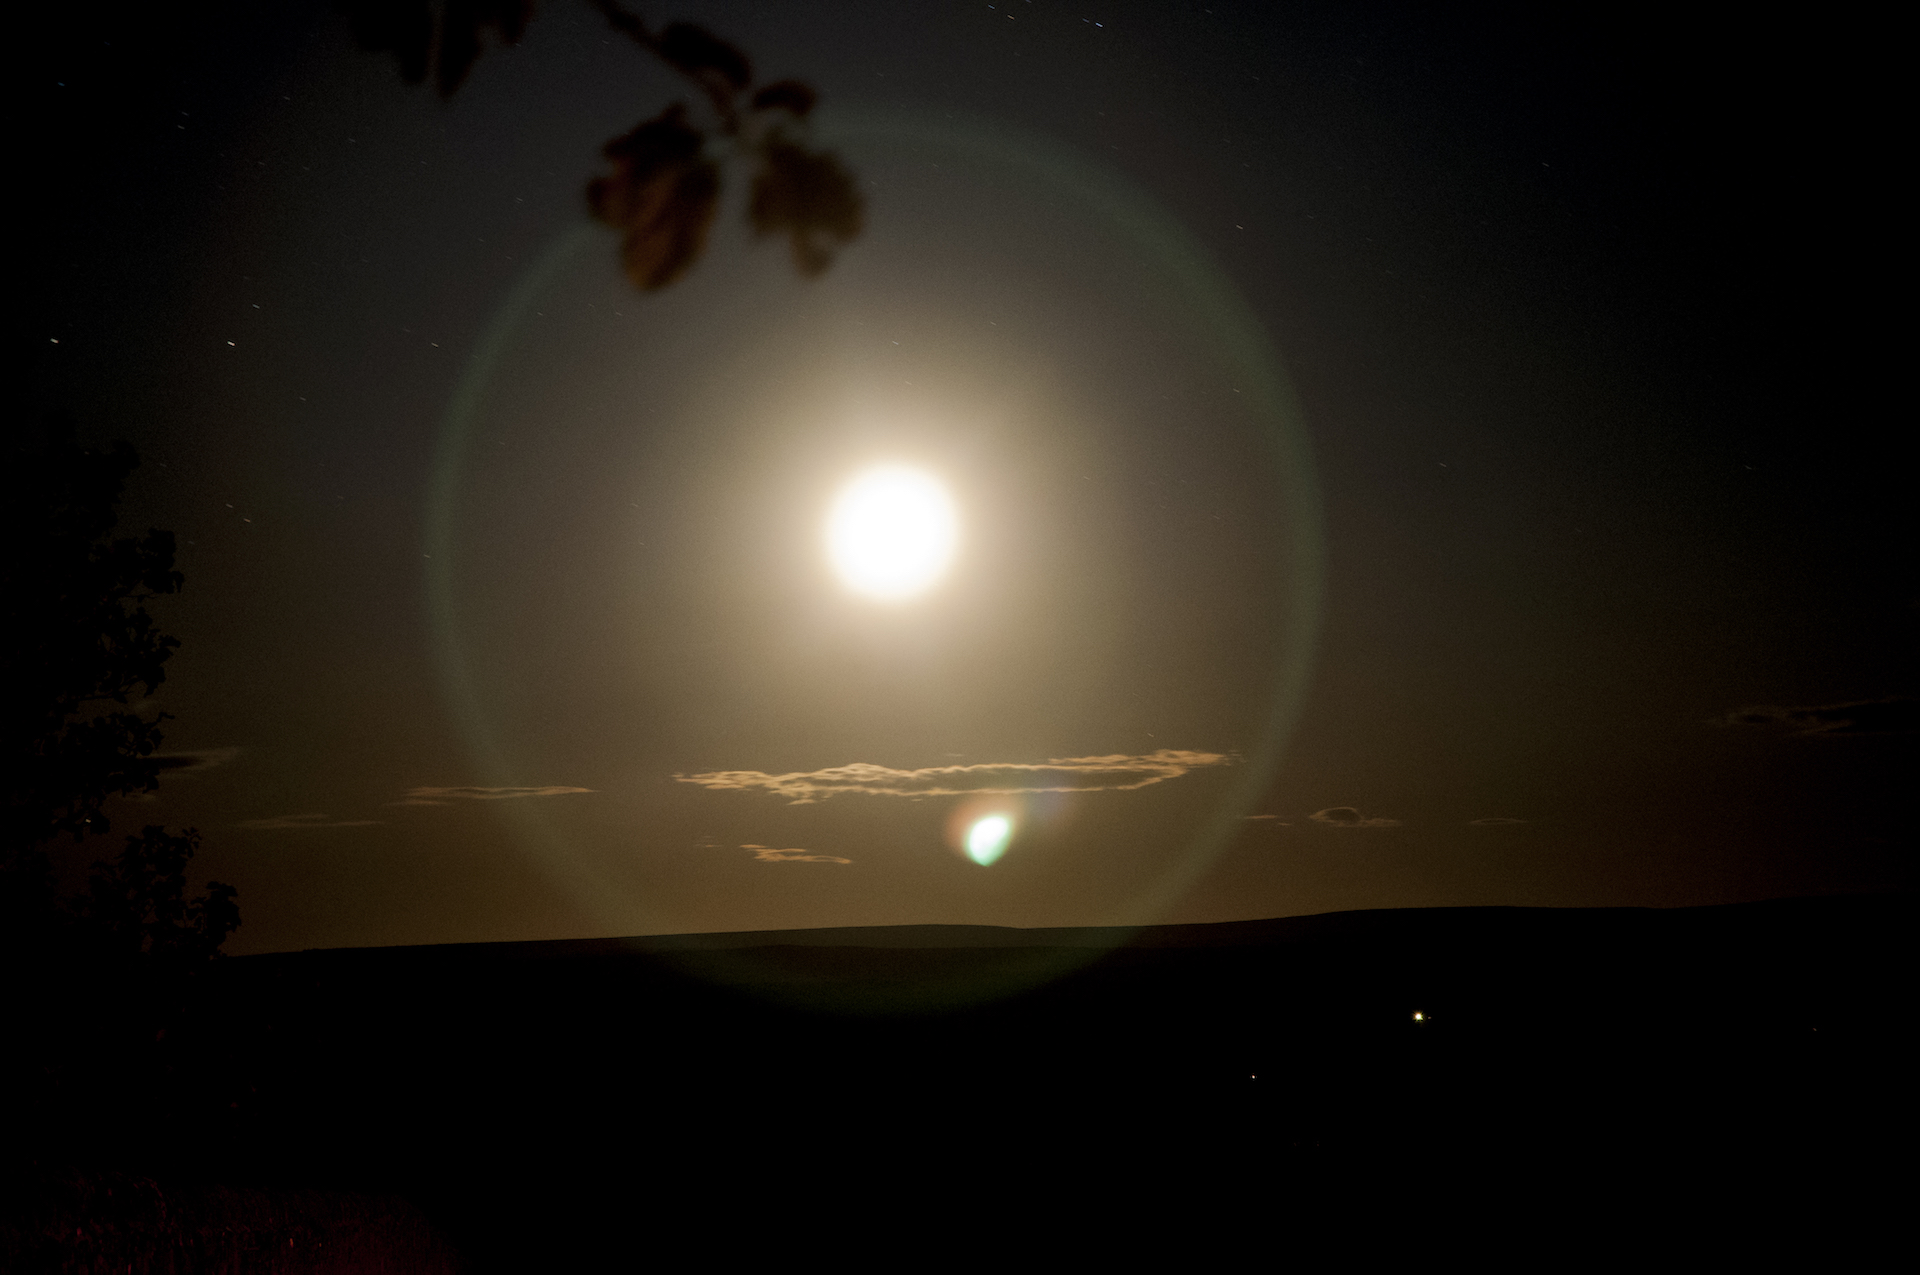
After a while and not getting any satisfactory shots of the moon (need to work that out obviously!) I moved on and continued to the end of the track where it meets with the old railway track which runs pretty much north -south being the line that used to run towards Consett. I moved into a position that meant I had the lights of the street behind me and where I was facing where I assume the Milky Way to be. I set my camera up and started to take a few shots. After 3 or 4 I realised that I had zoomed in to take the shots of the moon and once I’d gone back to the widest setting I could see a lot more of the sky!

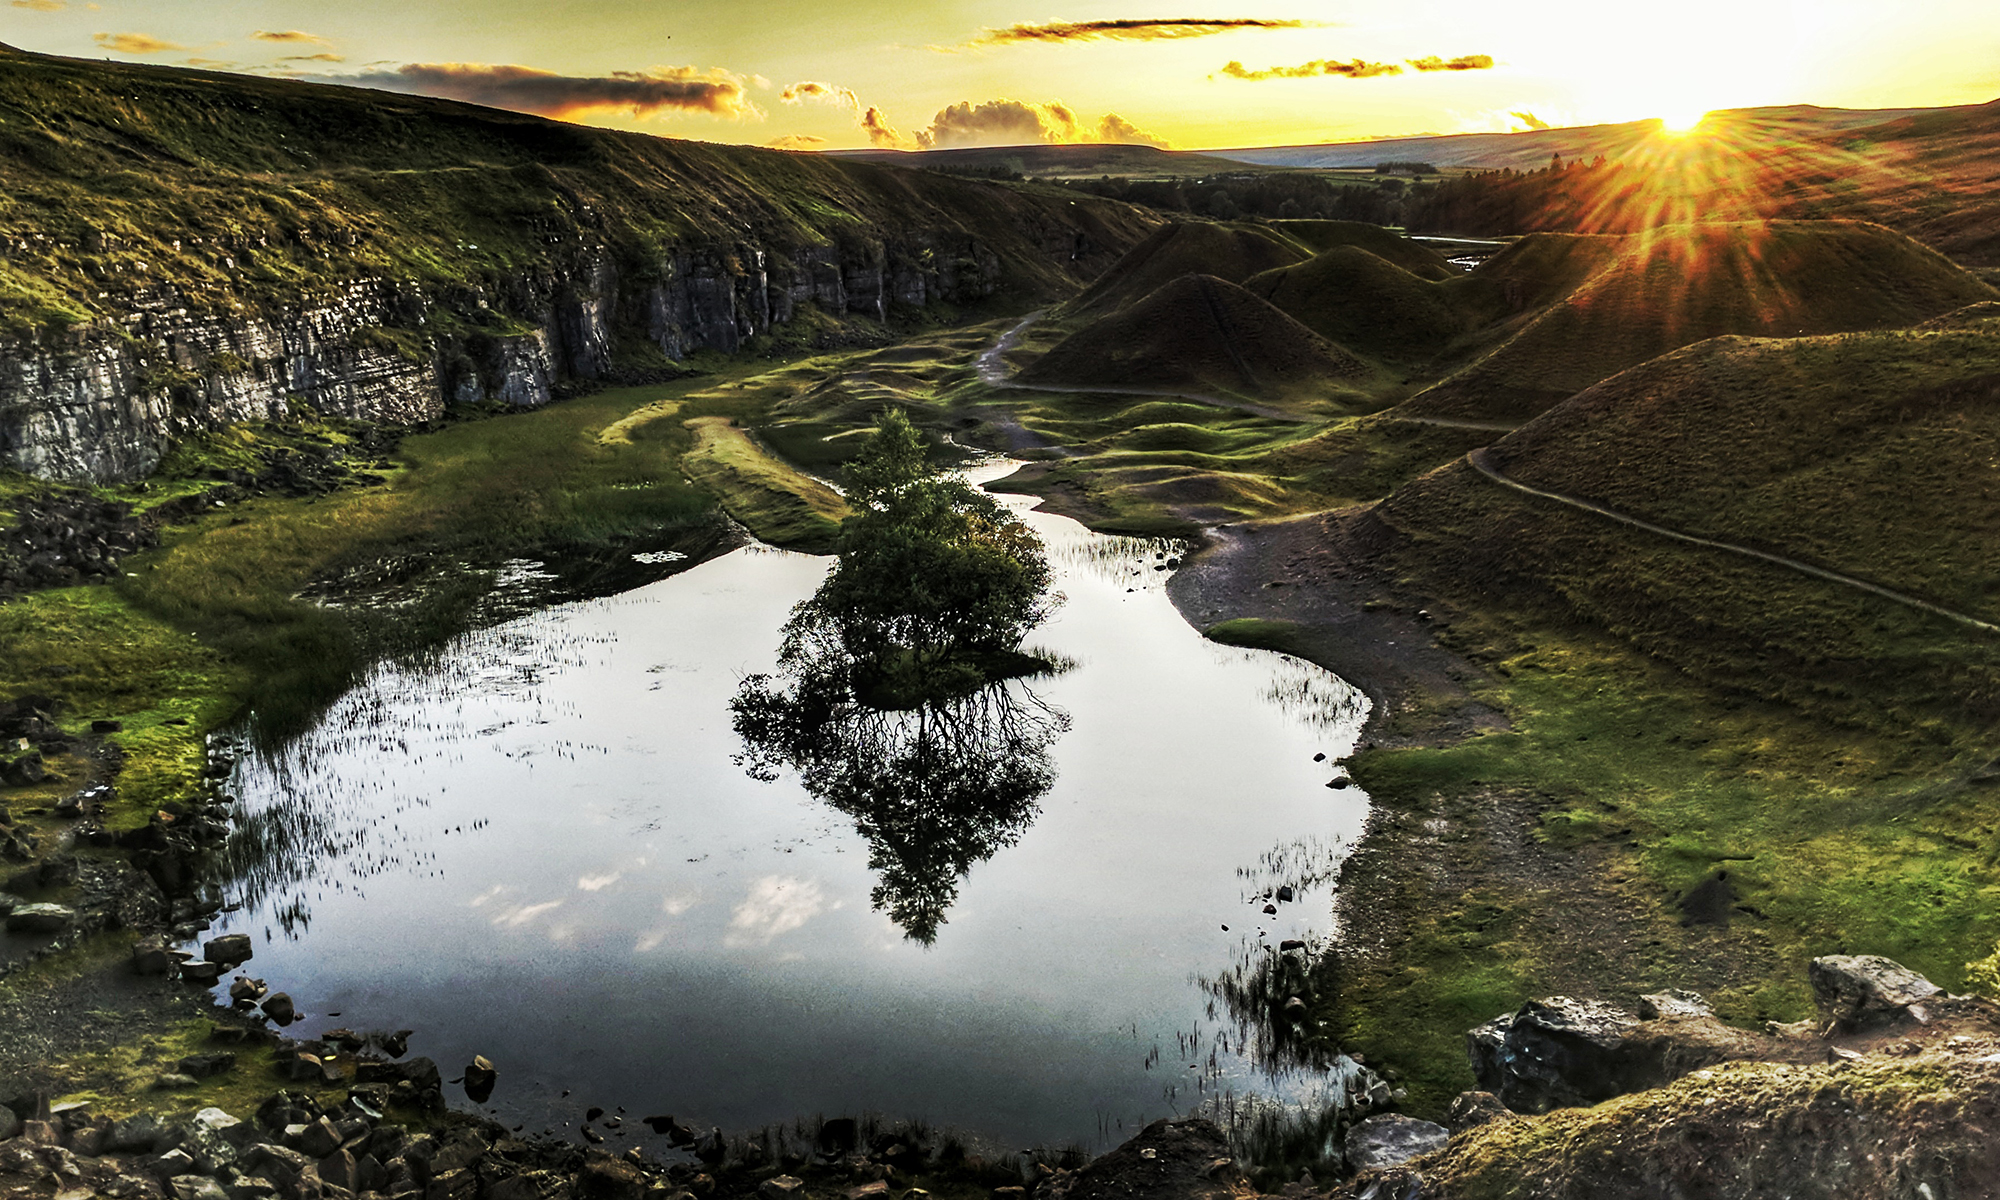
I started to take various shots using various settings but decided that the light from the moon was too bright so it might be best to wait until the moon had set before trying again. At that point I turned around and I saw that the Plough was sitting directly above one of my favourite trees in the area so I swung my camera around and tried to capture the shout.

I did a 20 second exposure and when the image popped up on the screen I could see that I had an issue with light pollution – firstly in the bottom left where the street light on the A68 was causing a huge orange glow but also from the general north and east spill of light from our village and the surround area which was showing bottom right. Still the Plough had come out well and I wondered if I could move to get a better angle. I tried to take another shot and as I did nothing happened – I realised that the battery was dead and put my hand in my pocket for the spare only to realise that it was still sitting on the windowsill as I’d forgotten to pick it up!

I had no choice but to head back cursing myself for forgetting it and then cursing the nettles I walked into in the dark! Still it had been an experience and I had learned a few things for next time. It was quite eerie round the back of the cemetery especially when I could hear an angry horse in the field in front of me as I was leaving!

Still when I got home and processed the images I was quite pleased with this one – despite the light from a very bright moon!

Reaching for the stars

I originally posted this blog entry on another, now defunct, blog so I thought I’d repost it here

On the 26th March 2017 I headed off to Kielder because I was booked onto an Astro Photo event at the Observatory. Sarah had bought me a voucher for my last but one birthday and it had expired so I had to cajole the Observatory into letting me use it to book this event. She also bought me my tripod for Christmas and this would be it’s first outing. Given all this I couldn’t understand why she was moaning about me going…unless of course it was because it was Mothers day!

The drive up to Kielder is quite a wild one, I think we live somewhere quite remote but really it’s nothing compared with some of the places you pass on the way to England’s remotest village! We’ve been to the campsite before and we know that there’s no mobile signal or anything up there – in fact on the way back it was about 40 minutes of driving before I got any signal! The last bit of the drive is up a single track road which winds it’s way up the side of the hill before flattening out at the top where there is a car park next to the observatory building. It seems like you are really high up but in reality you’re no higher than you would be at Tow Law, which of course used to have it’s own observatory once upon a time.

I parked in the car park, I could see there were people waiting outside so I guessed it wasn’t open yet. I wasn’t sure which coat to wear as I’d brought my jacket and my big coat. As it wasn’t too cold I plumped for the jacket but figured that I could always go back and get the bigger one if I needed it. I got talking to the chap who was parked next to me as I was putting my coat on and getting my camera out. It dawned on me that I hadn’t brought a hat but I did have a hood so figured that would have to do! I wandered down to the door by which time people were going in. I had printed off my ticket but didn’t need it as they had a laptop with everyone’s name on it.

We were invited to take a seat in the room we’d just gone into. The room was quite small and made of wood. There was a screen onto which were being projected images of space and wood burning stove in the corner. The room was lit with red lights powered, presumably, by the wind turbine we passed on the way in. While we sat and waited for the event to start one of the organisers came dashing in saying “I need my camera there is a beautiful sunset out there” and then he left again. A few seconds later he returned and said “I’m not joking, it’s beautiful and there’s all you lot here with cameras…” I followed him out and took a picture using my mobile phone, others followed and soon there were quite a few of us out there.

The event started with a lecture about photography (obviously) and they ran through a ten point plan to get us started discussing exposure, focussing, file formats, location etc. I found a lot of the stuff I either knew or could have worked out myself but it was useful to hear the tips and techniques. The talk went on for about an hour and at that point we were invited to get our cameras out and go and give it a try. They apparently have a contingency plan in case the sky isn’t clear but thankfully we don’t need it tonight as the skies are clear. I spend a little time sorting out my camera before heading out. I have a shutter release cable but although I’ve tested it before I discover that it doesn’t work if I use the mirror up setting! I also spend time getting the focus correct only to discover later that my lens actually had infinity focus marked on it!

When I eventually get outside I’m struck by how many stars there are out there especially given it doesn’t seem that dark! I was expecting, as we’re in a dark sky park, it to be pitch black but it wasn’t – in fact I think I know places where it seems darker at home but I’m guess that the main factor is lack of light pollution which means the stars can be seen. I spend the next couple of hours taking photos with varying degrees of success! I notice at one point that my camera has gone from RAW to TIF and I wasn’t sure how that happened but I later realised that the button for changing it is next to the button for changing the ISO so I must have changed it by mistake. I also discover that the dial for changing the aperture is right underneath the on/off button and I lost count of how many times I accidentally switched the camera off!

I try different settings and different framings to get an idea of what works and what doesn’t. I realise that although the sky looks uniformly dark there is more light nearer the ground than if you point the camera into the sky. I also discover that a foreground object like the observatory works better than just pointing at the stars. I bracket my exposures to see what works and what makes a difference.

At one point we’re called in so they can take coffee orders – apparently we can have tea, coffee or hot chocolate but we can have them in a normal mug which means they have to wash up 30 mugs or we could purchase a nice souvenir Observatory mug from them for £3.50, drink our coffee out of it and then take it home. Apparently they’ve been spotted as far away as Whitley Bay! Needless to say most people went with the second option!

We went back outside while they made our drinks and while I was taking photos it dawned on me that not only did I not feel the cold as much as most people – I was wearing my jacket and hoody but both were open and had no gloves or hat whereas others looked like they were off to explore the artic – but I seem to have much better night vision than most too as people seemed to flounder in the dark and lots had brought red torches to find their way about. My theory is that I’m used to walking in the dark as I have spent most of my life in darkened conference halls but as well as that I walk the dog regularly in the dark roads around Tow Law. I also think your eyes will adjust if you’re in the darkness but if you insist on using a torch they’ll take longer!

The event finished at 11 and then I had an hour and a half journey home again. One road in particular was worrying me as it had been a winding narrow road that was quite scary in the light (I remember it from our trip in the campervan last year) but at night it would be worse. It turned out not to be as bad as I thought but as I got near the end another car came up behind me. This car then followed me all the way down the A68 till wereached the A69 where he finally overtook me – why he couldn’t overtake me sooner or drop back I don’t know…unless it was because it was a Volvo!

I had a great evening and I am looking forward to finding somewhere near me to go out and take photographs but in the meantime here’s a couple I took tonight!

Wine making

Back in 2013 one of my friends posted on Facebook that he had been out collecting dandelions in order to make wine and I thought that sounded like a great idea. I’m all for foraging and using natural stuff but if the end result is wine then all the better! I mentioned this to my wife but it kind of got shelved as I didn’t have the cash to go out and buy all the stuff I would need. Then for my birthday in the December she bought me a wine making kit from Wilkinsons.

However it got put to one side and events quickly overtook us – we decided to move from Kent back to my native north east and in all of the moving and changes the kit sat in the bottom of the kitchen cupboard for several years while all the ingredients went past their use by dates! Then during last summer I started to get to know the countryside around us better and started to find edible mushrooms and berries. One day while out picking blackberries I spotted some other berries hanging on a tree down a lane.

I took a picture and worked out that they were elderberries and as soon as I had my mind made the leap to Elderberry wine! I did lots of research and although there were lots of sites out there I found this one fired my enthusiasm more than most. So the next time I was out with the dog I filled a poo bag (clean one obviously) with elderberries just to get an idea of how much that would equate to.

I discovered that the bag full of berries gave around 500g of fruit once they were removed from their stalks. As I didn’t have enough I froze them until I was able to pick some more.

So the next time I went out I took a carrier bag to fill up with fruit – disaster almost struck because when I got to the tree I’d picked the fruit from last time all the low hanging fruit had gone and there was only the fruit at the top of the treeleft, which was out of my reach.  Luckily there were two more trees near by and my bag was soon full.

It’s a slow laborious task taking the berries off the stalks so I did it over a couple of evenings. I would fill up a plastic bowl till I had about 500g of berries and then pop the berries on a oven tray and put them in the freezer. After 3 nights I had 2kg of frozen berries in boxes and I was ready to start making the wine.

I needed to buy a few things to get started and one of those was a fermentation bucket. Typically enough the day I went to buy it they didn’t have any left in stock so the start date had to be put off by a week while I waited for the order to come in! So one Saturday evening after sterilising all the equipment I would need I set about starting off the process. The first thing I had to do was to put all of the berries in the bucket and mash them up. Now when I originally froze them and was transferring them from tray to box any that fell on the floor melted and squashed almost instantly so I didn’t think it would take long for them to defrost…how wrong I was!

It was gone midnight by the time I had the berries sufficiently mashed to take the process forward so I added the water and the chemicals it had recommended in the article, put the lid on and went to bed!

The following day I added the yeast and the other ingredients like black tea and lemon juice and waited for everything to start happening!

I tend to worry and panic about things so when I was expecting  “a stormy raft of bubbles will form and a dark earthy smell will erupt from the depths” as it had said in the article I was worried when I returned from a few days away with work to find that there didn’t seem to be anything happening!

What I did find though was that when I tipped the bucket up the layer of berries that had formed on the top moved apart and huge bubbles came up from the bottom and there was that earthy smell that the writer had mentioned. After a week I was ready to transfer it to the demijohn that had come out of the kit that Sarah had originally bought me.

I decided that the best thing to do was to scoop the remnants of fruit off the top of the liquid before I started to transfer it. I used a slotted spoon which allowed the liquid to drain off and after a while I had a dish full of soggy mashed berries. Then I put a muslin straining bag I had bought online into a funnel. The original article suggested using an old clean tea towel but I didn’t think I’d get away with that. I then used a jug to scoop up the liquid and pour it into the funnel.

It worked really well and soon I had a demijohn full of liquid and even more fruit pieces that I had emptied out of the muslin. There was quite a bit of liquid left over after the demijohn was full so I poured some of it into a glass and had a taste! It was quite fruity and seemed to be quite alcoholic so I guess that was a good sign. It took me a little while to get the amount of water in the airlock right but when I had it started to bubble away!

I then had to tidy up the mess!

One thing I found about the wine making process is that the first week or so is really exciting with all sorts of things to do and happening to the wine. After that it tends to get a bit dull as it then becomes a bit of a waiting game with months of a demijohn just sitting there. The wine I started in October 2017 is unlikely to be ready to drink until Christmas 2018 at the earliest – I intend to bottle it sometime during the summer. The only thing I have had to do since the end of the first week was to rack the wine into another demijohn, which I did in January, to get rid of the lees that were forming in the bottom. That did raise a small problem as the new demijohn was bigger than the old one and with the amount of wine that you lose as you transfer the liquid and the additional space I had to add quite a lot of water to it so I hope that doesn’t adversely affect the flavour.

I have since discovered that although I thought I would have to buy bottles to put it in and have been quite happily throwing screw top bottles into the recycling because I didn’t think I could use them that is not the case! I discovered that you can buy Novatwist caps which allow you to reuse screw top bottles which is a result – I went and rescued some from the recycling bin!  I’ve even been designing my own wine labels which I intend to feature my photographs of the local area so that every bottle will have a different image! This is one of them!

And of course I now had an empty demijohn so what should I do with that then! Then a friend of mine gave me inspiration via a post he did on Instagram.

There is a legend of a magical drink, the Mead of Poetry. Created by dwarves using the blood of Kvasir, hidden away by giants and later retrieved by Odin, it was then kept for the use of the Vanir and Aesir. Said to give the gift of Poetry to all who drink it, some was given to select groups of humans. Each year a little was kept and added to the new Mead being fermented, so the legacy of Kvasir’s wisdom could continue unbroken.

So towards the end of January I set off my second batch of wine but this time I’m making mead. It was very simple as I am following this recipe. I used two jars of honey and some yeast to set it off. As there is no fruit to strain out the primary firmentation can be done in the demijohn filled two thirds full so there is oxygen to feed the yeast. Once it’s done after 10 to 14 days you simply fill the demijohn up with clean water and reapply the airlock. That should hopefully be ready for Christmas too!

Now about those dandelions….